


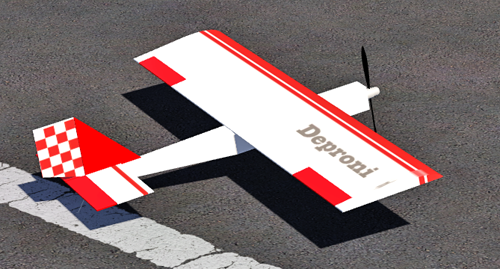
 Wenn Sie ein 3D-Modell im *.mqo-Format mit der 3D-Modellierungssoftware Metasequoia erstellen möchten, finden Sie nachfolgend die Demodaten eines kompletten Modells, um die Installation des RC10-Content-Converters und die Konvertierung der 3d-Daten ausprobieren zu können.
Step-by-Step-Anleitung
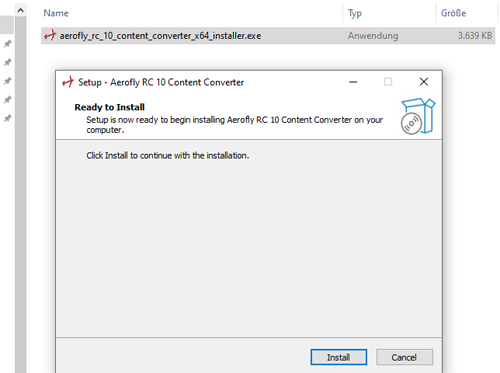
Step 1: Converter installieren
Downloaden und entpacken Sie den RC10_converter_installer.zip für Windows. Bitte die exe-Datei im ZIP als Admin ausführen und den weiteren Anweisungen zur Installtion des RC10 ContentConverter folgen. Wie das Program später gestartet wird, folgt unter Step5.
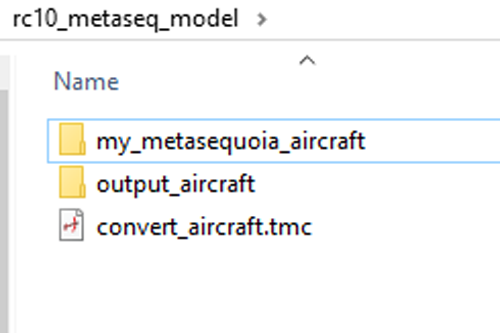 Step 2: Arbeitsordner mit Demomodell
Jetzt das ZIP RC10_metaseq_model.zip downloaden und entpacken. Der Order kann auf dem Desktop liegen und sollte nach dem Entpacken die rechts dargestellten Unterordner enthalten.
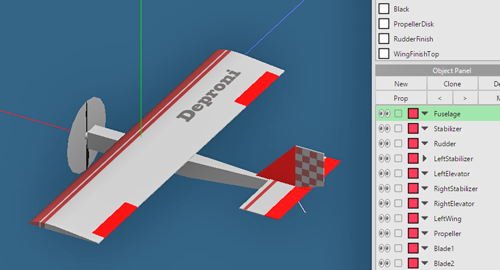 Step 3: Demomodell in Metasequioa
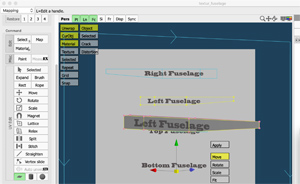
Im entpackten ZIP befindet sich im Unterordner …/my_metasequioa_aircraft/my_aircraft die Metasequoia-Datei des Demomodells. Die Datei my_aircraft.mqo testweise mit Metasequioa öffnen. Das Modell sollte mit seinen Texturen dargestellt werden.
 Step 4: MQO-Datei konvertieren
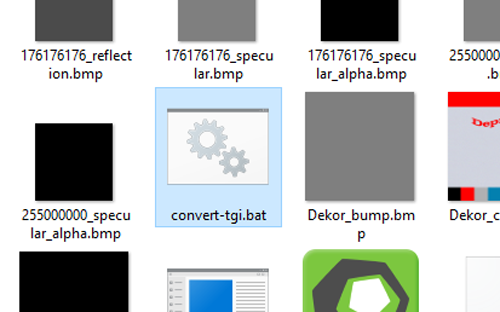
Nun im Unterordner …/my_metasequioa_aircraft/my_aircraft die Datei „convert-tgi.bat“ doppelklicken. Es öffnet sich kurz eine Konsole und als Ergebnis sollte im gleichen Ordner eine Datei mit dem Namen „my_aircraft.tgi“ geschrieben werden.
 Step 5: Daten konvertieren
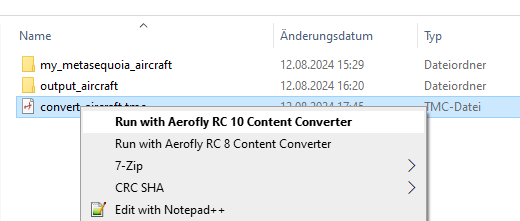
Wenn die Datei „my_aircraft.tgi“ erstellt wurde, bitte zurück in das Stammverzeichnis „rc10_metaseq_model“ navigieren und dort die Datei „convert_aircraft.tmc“ rechtsklicken. Im Dialogfeld den Befehl „Run with aeroflyRC10 Content Converter“ ausführen. Unter Win11 kann der Befehl auch erst nach Auswahl „Weitere Optionen“ sichtbar sein.
 Step 6: Modell im RC10 laden
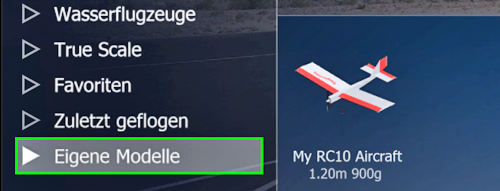
Der fertig konvertierte RC10-Modellordner wird in …/output_aircraft/ ausgegeben. Um das Modell im RC10 laden zu können, zum Abschluss noch den kompletten Ordner „my_aircraft“ kopieren und in /dokumente/aeroflyRC10/aircraft/ einfügen. Beim nächsten Start des aeroflyRC10 sollte das so konvertierte Modell unter Modell laden -> Eigene Modelle angezeigt und geladen werden können.
 Step 7: Vorschaubild erstellen
Im ZIP mit den Demodaten enthält die Datei „preview.png“ als Vorschaubild. Im Minimalfall reicht ein „beliebiges“ *.png mit 1024 x 1024 Pixel. Wer sich an die exakte perspektivische Darstellung halten möchte, erstellt ein Vorschaubild mit zunächst 45 Grad Drehung um die z-Achse und dann -30 Grad um die x-Achse des Modells.
Aktuelles aus dem RC8/RC9 Workshop:
Videotutorial für das Erstellen eines 3D-Modells in Metasequoia
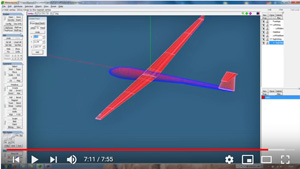 J. Hanuschik von Aerofly-Sim.de hat bereits für den aerofly5 eine ausführliche Videoserie auf YouTube veröffentlicht, in der er das Erstellen eines Modells in der 3D-Modellierungssoftware Metasequoia erklärt. Für ein aeroflyRC-Modell benötigen Sie alle Schritte bis einschließlich Teil 4. Danach können Sie die Daten gemäß 1.) auf dieser Seite konvertieren.
Zur Videoserie auf YouTube wechseln
3D-Objekte mit einem Texturbild belegen